
Last updated October 17, 2026
 Metal roofing
 Architectural shingles
 Tile roofing
 GAF
GAF Owens Corning
 Flat & low-slope
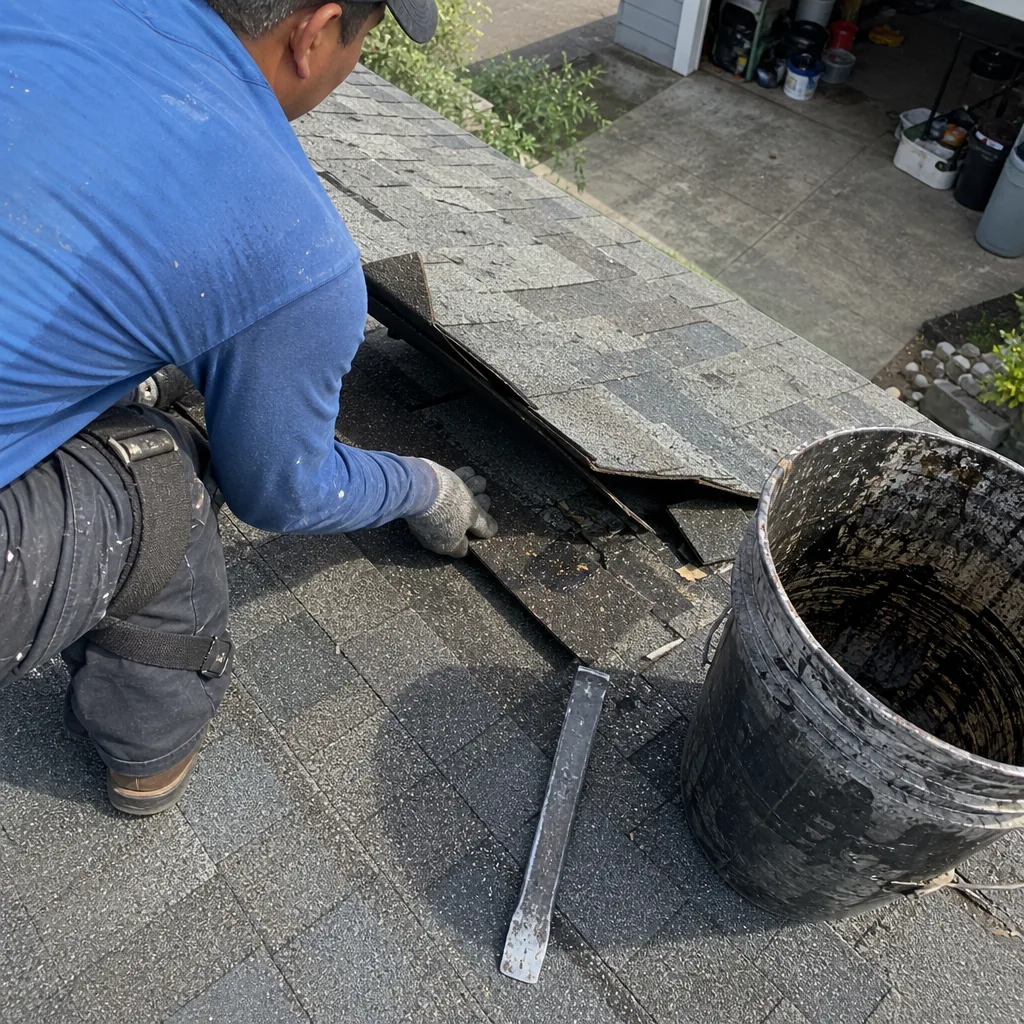
Free roof inspection with deck photos before we talk money - GAF and Owens Corning certified installation
Seasonal Roofing Care for San Jose: Year-Round Homeowner’s Guide
Most homeowners in San Jose check their roofs in November, when the first real rain arrives. That’s backwards. The driest months, July and August, are when thermal cracking in aging asphalt shingles accelerates fastest, because repeated expansion and contraction from 90-degree days and 55-degree nights slowly tears the shingle’s structure apart. Almost nobody thinks to look at their roof in summer, and that’s exactly why so many San Jose roofs fail three months later in a January downpour. This guide lays out the real risk calendar for San Jose’s specific climate, month by month, so you can catch problems before they cost real money. For a deeper dive, see The Complete Guide to Roofing in San Jose.
Styles & brands we work with
Quick Answer
Seasonal roofing care in San Jose means preparing for three distinct stress periods: ember season from late October through December, atmospheric river saturation events in February and March, and summer thermal cycling from June through August. Homeowners should inspect their roofs in early October, late January, and mid-July, focusing on different failure points each season. Most preventive maintenance costs under $400, while the repairs it prevents typically run $1,200 to $4,500.
Table of Contents
- San Jose’s Roofing Climate: What Actually Stresses Your Roof
- The Month-by-Month Care Calendar
- Ember Season: Late October Through December
- Winter Saturation: February-March Atmospheric Rivers
- Summer Thermal Cycling: The Invisible Damage Engine
- Gutter and Downspout Prep for Heavy Rain Events
- Three Ground-Level Checks After Any Weather Event
- What Roof Maintenance and Repairs Cost in San Jose
- Common Mistakes to Avoid
- When to Call a Professional
- Frequently Asked Questions
- The Bottom Line
San Jose’s Roofing Climate: What Actually Stresses Your Roof
San Jose doesn’t follow the rain-versus-dry pattern that most seasonal roofing advice assumes. The city gets about 15 inches of rain per year, nearly all of it between November and March, but that number hides the real story. San Jose sits in a valley with hills to the east and west that create microclimates. A home in Almaden Valley gets different weather than one in North San Jose, and both differ from the East Foothills. Your roof experiences three distinct stress cycles that most national guides never mention.
First, there’s the thermal stress cycle. San Jose regularly hits temperatures in the 80s and 90s from June through September, and asphalt shingles on a roof can reach 140 to 160 degrees Fahrenheit in direct sun. When temperatures drop into the 50s at night, shingles contract. Over a single summer, a shingle might go through 120 expansion-contraction cycles. Over ten summers, that’s 1,200 cycles. Each one weakens the adhesive bond between shingle layers and can crack the surface of older shingles. We’ve seen roofs in Willow Glen where shingles look fine from the ground but are cracked across the top surface from thermal cycling alone.
Second, the ember threat. San Jose’s fire season runs from late summer through December, with the highest risk concentrated in October and November when vegetation is driest and winds pick up. The hillside communities, Evergreen, Silver Creek, and anywhere within a mile of open space, face genuine ember intrusion risk. An ember that lands on a roof with cracked shingles, exposed wood decking, or debris in the valleys can smolder and ignite hours after the main fire front passes.
Third, the saturation cycle. When atmospheric rivers hit the South Bay in February and March, they can dump two to four inches of rain in 24 hours. That’s not a steady drizzle; it’s sustained, wind-driven water finding every gap in flashing, every cracked sealant joint, every compromised ridge cap. A roof that handled November’s light rain perfectly can leak badly in February because the saturation point of the underlayment has been reached.
The Month-by-Month Care Calendar
This calendar is built for San Jose’s actual weather patterns, not a generic four-season template. Follow it and you’ll stay ahead of every failure mode your roof faces here.
- January: After the first heavy rains, check your ceiling for water stains and your attic for damp insulation. These are the telltale signs of slow leaks that haven’t shown themselves on walls yet. Clear any remaining leaves from roof valleys using a roof rake from the ground if you can reach.
- February: The highest-risk month for saturation leaks. Check gutter joints during heavy rain for drips and overflow, and watch for water cascading over gutter edges. Overflow means clogs or undersized gutters, and the water lands on your foundation.
- March: Inspect ridge caps and hip shingles for damage from winter winds. San Jose gets occasional 30 to 40 mph gusts during storms, and ridge caps take the brunt. Look for shingles that appear lifted or shifted.
- April: Schedule any major repairs from winter damage now, before roofing crews book up. Clean gutters and downspouts thoroughly; the spring pollen from San Jose’s many oak and pine trees clogs gutters nearly as effectively as leaves.
- May: Check flashing around chimneys, skylights, and vent pipes. The winter-to-spring transition is when flashing sealant often fails, because the freeze-thaw cycle hasn’t been present in San Jose but the repeated wet-dry cycle has. Look for cracked or peeling sealant beads.
- June: Start summer with a ground-level visual inspection of shingles on south-facing roof planes. These get the most direct sun and show thermal damage first. Look for curling at shingle edges and any visible cracking.
- July: The peak thermal stress month. Inspect shingle surfaces on the south and west planes carefully. If you see granule loss collecting in gutters, that’s accelerated by heat cycling. Mineral granules that protect shingles from UV wash off in greater volume when the shingle surface is already cracked.
- August: Check the adhesive seal strips on shingles. These are the asphalt-based strips that bond shingles together. Heat softens them, and if they’ve failed, shingles can lift in wind. You’ll see shingles that don’t lie flat against the shingle below.
- September: Prepare for ember season. Clear all debris from roof valleys, behind chimneys, and in gutter basins. Debris in these locations is direct fuel for ember ignition. Trim branches that overhang the roof by at least six feet.
- October: Final pre-rain inspection. Check pipe boots, the rubber seals around plumbing vent pipes. These crack from years of UV exposure and are a leading source of San Jose roof leaks. Replace any that show visible cracks.
- November: First rain arrives. During the first significant storm, check your attic with a flashlight looking for water entry at penetrations. The first rain reveals problems that dry weather hides.
- December: Post-first-rain inspection. Address any leaks identified in November. At this point, moisture is still shallow in your roof system. Waiting until March means deeper saturation and more expensive repairs.
If this calendar feels like a lot, it breaks down to about 15 minutes of checking per month. Most of these inspections happen from the ground or from inside your attic, and none of them require climbing onto the roof itself.
Ember Season: Late October Through December
San Jose’s fire risk doesn’t end when temperatures drop. In fact, the most dangerous window for roofs runs from late October through December, when the transition from dry to wet weather creates two compounding risks. The hills have had six months to dry out, and the first rains haven’t yet arrived to moisten them. Meanwhile, the autumn wind patterns, the Diablo winds that blow from the east, can carry embers for miles.
An ember doesn’t need to land on an active flame to ignite your roof. It needs to land on something combustible. That means pine needles packed into a valley, leaves accumulated behind a chimney, or a section of roof where the shingles have cracked and exposed the organic mat underneath. An ember the size of a thumbnail can smolder in these spots for hours before igniting.
The homes at highest risk in San Jose are those in the Wildland-Urban Interface: the neighborhoods that border open space. That includes much of Evergreen, Silver Creek, Alum Rock, and the communities along the eastern foothills. But embers travel. In wind events, they’ve been documented landing on roofs two to three miles from the fire front. That puts a significant portion of San Jose in the ember travel zone during high-risk days.
What should you actually do during ember season? Focus on fuel removal. Any organic material on your roof is fuel. Pine needles, leaves, small branches, and even accumulated dust mixed with pollen create a combustible layer. Roof valleys are the worst offenders because debris naturally collects there. After the wind blows, even a breezy day in October, check your valleys from the ground with binoculars. If they’re holding debris, clear it. Gutter basins are the second priority; a gutter full of dry leaves is a fire starter sitting directly against your roofline.
One more point on ember season: it overlaps with the start of San Jose’s rainy season. The same debris that poses a fire risk in October becomes a drainage blockage in November. One cleaning addresses both risks, but the timing matters. Clean too early in September and debris will re-accumulate before the rains arrive. Clean in mid-October and you’ve covered both the tail end of fire season and the start of rain season in one effort.
Winter Saturation: February-March Atmospheric Rivers
San Jose doesn’t get steady winter rain. It gets punctuated bursts. An atmospheric river event in February or March can deliver two to four inches of rain in 24 hours, driven by strong winds that push water sideways into places it wouldn’t normally reach. This is the difference between a roof that survives November and one that leaks in February.
The failure point in saturation events is rarely the shingles themselves. It’s the penetrations. Every pipe, vent, skylight, chimney, and valley has a transition point where water is supposed to be directed away. These transitions rely on sealant, flashing, and underlayment working together. When any one of these fails, water finds its way in. The problem compounds in February-March because the roof system, especially the underlayment under the shingles, hasn’t fully dried from previous rains. It reaches saturation, and then water that would normally sheet off begins to soak through.
What can you do before the atmospheric rivers arrive? First, verify that your gutters and downspouts are absolutely clear. In a two-inch rain event, a partially clogged gutter overflows, and the overflow lands at your foundation line. Over the course of February and March, that’s thousands of gallons of water saturating the soil around your foundation. Second, check your downspouts are properly connected and discharging at least five feet from the house. Disconnected downspout extensions are among the most common issues we see in San Jose, and they’re a five-minute fix. Third, look at the flashing around chimneys and skylights. Cracked sealant is a visible problem. If you can see gaps or cracked beads from the ground with binoculars, water will find those gaps in a sustained storm.
Our experience with San Jose saturation events is that most leaks trace back to one of three culprits: failed pipe boots, aged chimney flashing, or clogged valleys that pond water against the roofline. All three are preventable with pre-rain inspections. All three are far cheaper to address before the storm than after.
Summer Thermal Cycling: The Invisible Damage Engine
July and August in San Jose don’t feel like roof-damaging months. No rain, no wind, no storms. But this is precisely when the slow structural damage occurs. A south-facing shingle on a 90-degree San Jose day reaches 150 degrees Fahrenheit or higher. That night, the same shingle drops to 60 degrees. That’s a 90-degree swing in 12 hours, and it happens more than 60 times during a typical summer.
Each cycle expands and contracts the shingle. Asphalt, the material that binds shingles together, tolerates some of this movement, but over years, it loses flexibility. The result is thermal cracking: hairline fractures that form in the shingle’s surface. These cracks expose the shingle’s base mat to water, and they accelerate granule loss, which further exposes the shingle to UV damage. The cycle feeds itself.
Thermal cycling affects more than shingles. Sealant joints at flashing transitions expand and contract at different rates than the metal flashing itself. The sealant eventually loses adhesion, creating gaps. Ridge caps, the shingles that cover the peak of your roof, are especially vulnerable because they sit at the hottest point of the roof and receive sun on both sides. Flashing adhesion failures at ridges and hips are one of the most common heat-related failures we document during San Jose summer inspections.
The visual sign that thermal cycling is progressing faster than normal? Granules in your gutters. Every shingle loses some granules over its life, but when thermal cracking accelerates, granule loss spikes. If you clean your gutters in June and find a thick layer of gritty granules at the bottom, that’s a signal your shingles are degrading faster than their age would suggest. The south and west planes will show the most damage, so check those first. If you’re already seeing curling at shingle edges in July, the shingles have likely begun to lose their structural integrity and may not survive another winter of saturation.
Summer is also the right time to do roof work in San Jose, if any is needed. The weather is dry, the days are long, and sealants cure properly in warm temperatures. If you’ve been putting off a repair, July or August is the time to schedule it, not November when the rains are imminent and crews are booked out.
Gutter and Downspout Prep for Heavy Rain Events
Gutters are the unsung heroes of San Jose roofing. When they work, they carry thousands of gallons of water safely away from your home’s foundation, siding, and eaves. When they fail, the water ends up in places it shouldn’t be. Prep for the February-March atmospheric river season starts with getting the drainage path clear and functional.
Start with the gutters themselves. San Jose’s urban canopy includes a lot of oaks, redwoods, and pines, and each contributes heavily to gutter debris. Oak leaves are particularly problematic because they’re small enough to slip past many gutter guards but dense enough to form clogs. Pine needles are worse; they interlock and create mats that water can’t penetrate. If you have pine trees near your home, plan for gutter cleaning twice in the fall season, once in late September and once in mid-November after the first leaf drop.
Then check the downspouts. A downspout that’s connected at the gutter but disconnected at the bottom isn’t doing its job. The water discharges directly against your foundation, saturating the soil and inviting moisture into your crawl space or slab. Extend downspouts at least five feet from the house. In San Jose’s clay-heavy soils in many neighborhoods, water saturation causes expansive soil movement, which can crack foundations. A ten-dollar downspout extension is the cheapest foundation protection available.
Finally, verify that water flows freely through the entire system. Run a hose on the roof above the gutter and watch the water exit the downspout. If it backs up, overflows the gutter edge, or drips from a joint, you’ve found a problem. The fix might be as simple as clearing a clog or tightening a joint, or it might require replacing a damaged section of gutter. Either way, finding it now, before the February storms, is the difference between a maintenance item and a water damage claim.
One more note specific to San Jose: many homes built in the 1950s and 1960s in neighborhoods like Cambrian and Willow Glen have original or early-replacement gutters that are now undersized for the intensity of atmospheric river events. These older four-inch gutters struggle with two-inch-per-hour rainfall rates. If your gutters overflow during moderate rain even when clean, you may need to upgrade to a five- or six-inch system. It’s an investment, but it protects against the long-term damage that overflow causes to fascia boards and siding.
Three Ground-Level Checks After Any Weather Event
You don’t need a ladder to check your roof after a storm. These three checks, done from the ground, catch the majority of damage that requires attention. No climbing, no risk, no special equipment beyond maybe a pair of binoculars.
- Check the roofline from the street. Walk across the street and look at your roof edge. A healthy roofline is dead straight. If you see dips, sags, or waves, that indicates decking damage or structural movement. After a heavy rain, a sagging area suggests water saturation in the decking. Check this from both the front and the back of the house, and from both sides if you can get to them.
- Look for shingle granule trails on walkways and driveways. After a rainstorm, granules that have washed off shingles collect on concrete surfaces below the drip line. They look like coarse sand or dark grit. A light dusting after a heavy storm is normal, but visible accumulation, or a trail that keeps appearing after every rain, indicates accelerated shingle degradation. Our crews in San Jose see this most often on homes with asphalt shingles older than 15 years.
- Check for debris against the house. After any significant wind event, especially the autumn Diablo winds or winter storm gusts, walk the perimeter of your home. Look for shingle pieces, flashing strips, or other roofing material on the ground. Also check for debris piled against the foundation, which can block drainage and direct water toward the house. Shingle pieces on the ground are direct evidence of roof damage above, and the location tells you which section of the roof needs attention.
These three checks take under ten minutes combined. Make them a habit after every major weather event, and you’ll catch roof problems in their earliest, least expensive stages.
What Roof Maintenance and Repairs Cost in San Jose
Knowing what to expect before you call helps you make better decisions. Here are realistic ranges for common San Jose roofing maintenance and repair items, based on what we see across the South Bay market.
- Gutter cleaning: $150 – $300 for a standard single-story home, $250 – $450 for a two-story home. Frequency depends on tree cover; homes with oak or pine canopy need two cleanings per year.
- Pipe boot replacement: $250 – $450. This is one of the highest-frequency repairs in San Jose and one of the cheapest ways to prevent a leak.
- Flashing repair or resealing: $350 – $650 for a typical chimney or skylight flashing. Replacing flashing entirely runs higher, $800 – $1,500 depending on access and material.
- Individual shingle replacement: $25 – $45 per shingle for the work itself, plus a minimum trip charge that typically puts most small repairs in the $300 – $500 range.
- Valley clearing and minor repair: $200 – $400. Keeping valleys clear of debris is the single most cost-effective preventive measure for San Jose homes.
- Sectional shingle replacement (100-300 sq ft): $600 – $1,800 depending on roof pitch, shingle weight, and access difficulty.
- Full roof replacement: $12,000 – $28,000 for a typical San Jose ranch or two-story, depending on square footage, material choice, and roof complexity. See our Roof Replacement in San Jose guide for a full breakdown.
These are ranges we share with homeowners before any work begins. If you’re getting repair quotes, ask for these line items specifically. A written, itemized price before work starts is the standard we hold ourselves to, and it’s the standard you should expect from any roofing company in San Jose you work with.
Common Mistakes to Avoid
- Waiting for a leak to do maintenance. By the time water reaches your ceiling, the leak has been active for weeks or months. The saturation damage to decking and insulation is already done. Preventive maintenance costs a fraction of leak repair.
- Checking the roof only from one side. South and west-facing planes in San Jose absorb dramatically more heat and UV than north-facing planes. They fail first. If you only inspect the visible front slope, you’re likely missing the plane that needs the most attention.
- Ignoring granule accumulation in gutters. Granules protect shingles from UV degradation. When they begin to collect in gutters in volume, it’s a sign that thermal cracking has begun. This is an early warning, not a normal part of aging.
- Delaying gutter cleaning until after the rain starts. Once November arrives in San Jose, gutter cleaning windows close quickly. Wet leaves are far harder to remove than dry leaves, and the demand for gutter work spikes. Clean in October when debris is dry and crews are available.
- Patching over failed flashing instead of replacing it. Sealant applied over corroded or torn flashing is temporary, and in San Jose’s wet-dry cycle, that patch often fails within a single season. Replace flashing properly to get a durable repair.
- Assuming ember risk ended in September. San Jose’s fire season extends through December. Debris that accumulated on your roof during fall is fuel for embers until the rains arrive and soak it. Clear roof valleys in late October, not in September.
- Climbing onto a steep roof without proper safety equipment. Falls from roofs are a leading cause of homeowner injury. For any inspection that requires leaving a ladder, consider hiring a professional. We perform these inspections daily, and we’d rather help you than read about a fall.
When to Call a Professional
Some roof issues are safe to monitor from the ground and address on your own schedule. Others demand professional attention immediately. Call a roofer if you see water stains spreading on interior ceilings, especially after rain; if you find shingle pieces or flashing material on the ground after a storm; if you notice sagging along the roofline; or if your roof is older than 15 years and has never had a professional inspection. These are not do-it-yourself projects. The risks of working at height, combined with the ease of causing further damage during an amateur repair, outweigh the cost of a professional visit. Read DIY vs Professional Roofing: The San Jose Homeowner’s Decision Guide to understand the tradeoffs.
At Tilehurst Roofing San Jose, we start every job with a written price, so there’s no surprise at the door. If you mention this guide when you call, we’ll walk through the seasonal checklist with you and identify whether what you’re seeing is normal aging or something that needs action. Call (669) 274-0078 to schedule a free estimate. We answer the phone, and we show up when we say we will.
Frequently Asked Questions
Twice a year: once in early October before the rain and ember season, and once in late January or early February after the first atmospheric river event. If your roof is older than 15 years, add a third inspection in July to check for thermal cycling damage. Free inspections are available from roof repair professionals in San Jose; call (669) 274-0078 to schedule one.
The earliest visible signs are curling at shingle edges, especially on south and west-facing planes, and increased granule accumulation in gutters during summer months. As damage progresses, shingles develop hairline cracks and the roof surface looks brittle or gray. If you see these signs in July or August, call (669) 274-0078 for an evaluation before winter rains arrive.
Minor repairs, such as replacing a few shingles or resealing flashing, typically do not require permits in San Jose. However, full roof replacements and structural repairs require a building permit from the City of San Jose. Permits ensure the work meets California’s Title 24 energy standards and local building codes. Any reputable roofer will handle the permit process for you. For help choosing the right professional, see How to Hire a Roofing Contractor in San Jose: A Step-by-Step Guide.
If you live within two miles of open space in San Jose’s eastern or southern hills, your roof is in the ember travel zone during wind events. Check whether debris accumulates in roof valleys and behind chimneys; if it does, that debris is ember fuel. Also look for exposed wood decking, cracked shingles, or gaps at the roofline. Homes with defensible space still need a fuel-free roof. Call (669) 274-0078 to schedule an ember risk inspection.
Pipe boot failure. The rubber seals around plumbing vent pipes crack from UV exposure and temperature cycling, and they leak. It’s a $250 – $450 repair that prevents water from entering your attic. We replace more pipe boots in San Jose than any other single component. If your home is over ten years old and the boots haven’t been replaced, they’re likely due.
A typical single-family roof replacement in San Jose takes two to five days, depending on roof size, pitch, and weather. Larger or steeper roofs may take up to a week. Your roofer should provide a written timeline as part of the price estimate. Call (669) 274-0078 for a free estimate with a specific schedule for your home.
The Bottom Line
San Jose’s roof risk calendar runs on three tracks: ember threat in late fall, saturation stress in late winter, and thermal cycling in summer. Each demands a different type of attention, and each is predictable. The homeowners who avoid major roofing disasters are the ones who inspect before the stress arrives, not after the damage shows. Clean your valleys in October, check your gutters in January, and look for thermal cracking in July. Do these three things consistently, and you’ll extend your roof’s life by years. When you need professional help, Tilehurst Roofing San Jose is here with written pricing, a live person on every call, and the 365-Day Done Right Promise: if it’s not done right, we make it right for a full year. Browse more guides & resources for year-round roof maintenance tips. Call (669) 274-0078 to schedule your free estimate and get your seasonal checkup on the calendar.
Written by Greg Holloway, Owner at Tilehurst Roofing San Jose, serving San Jose since 2000.
See the difference
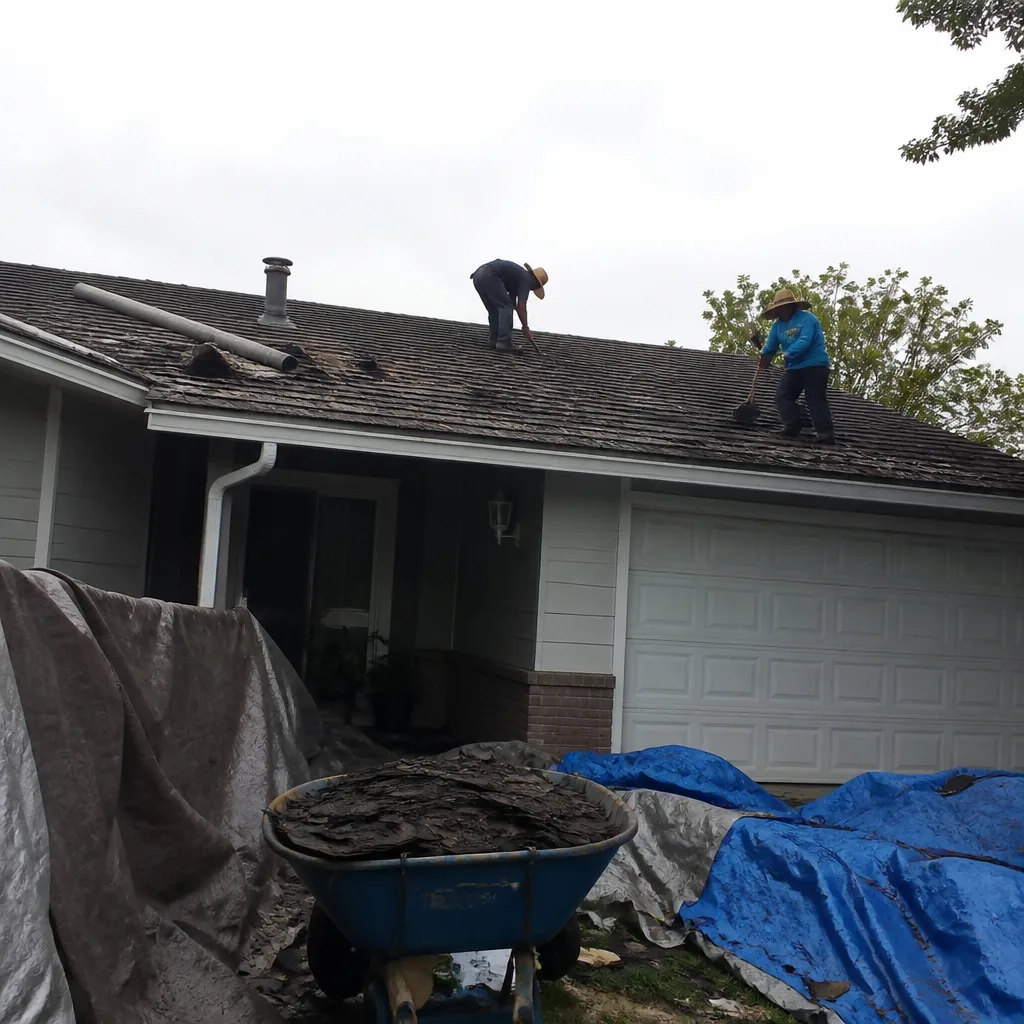 Before
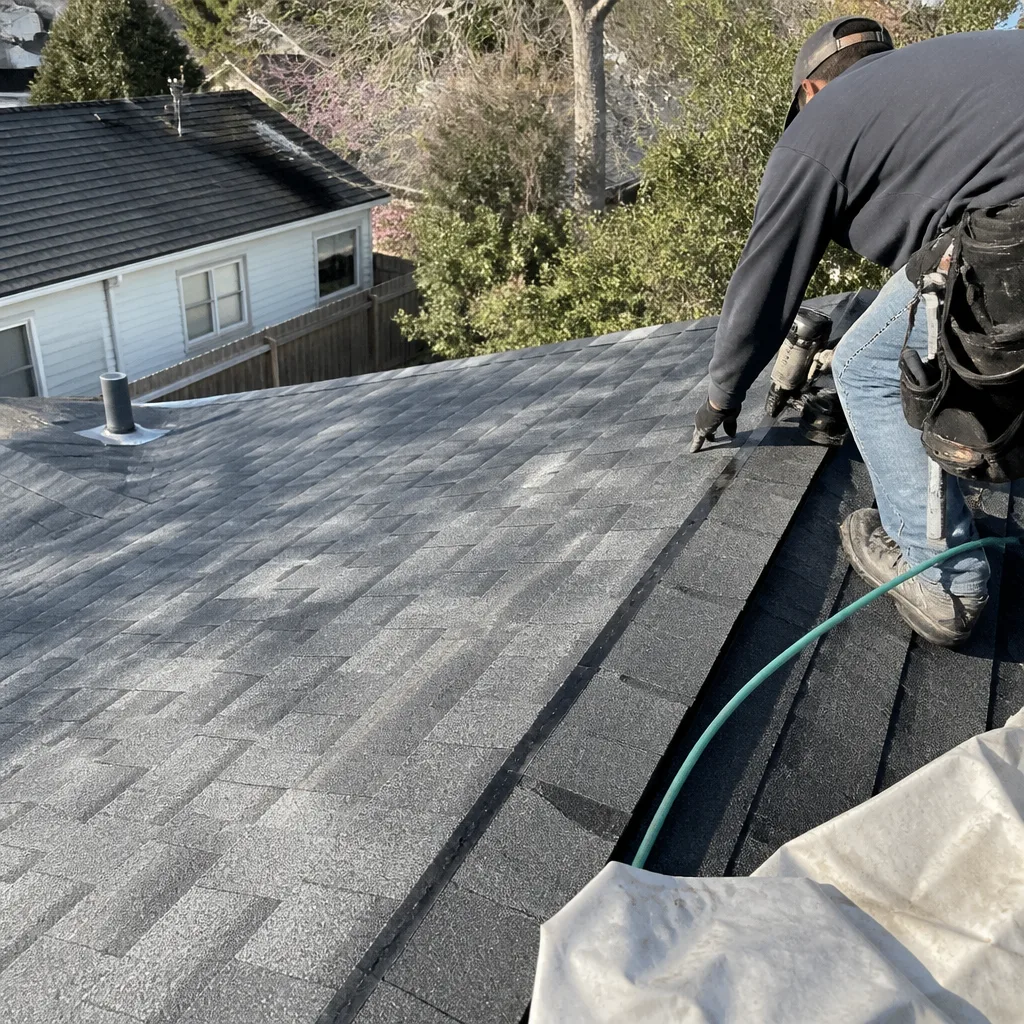 After
After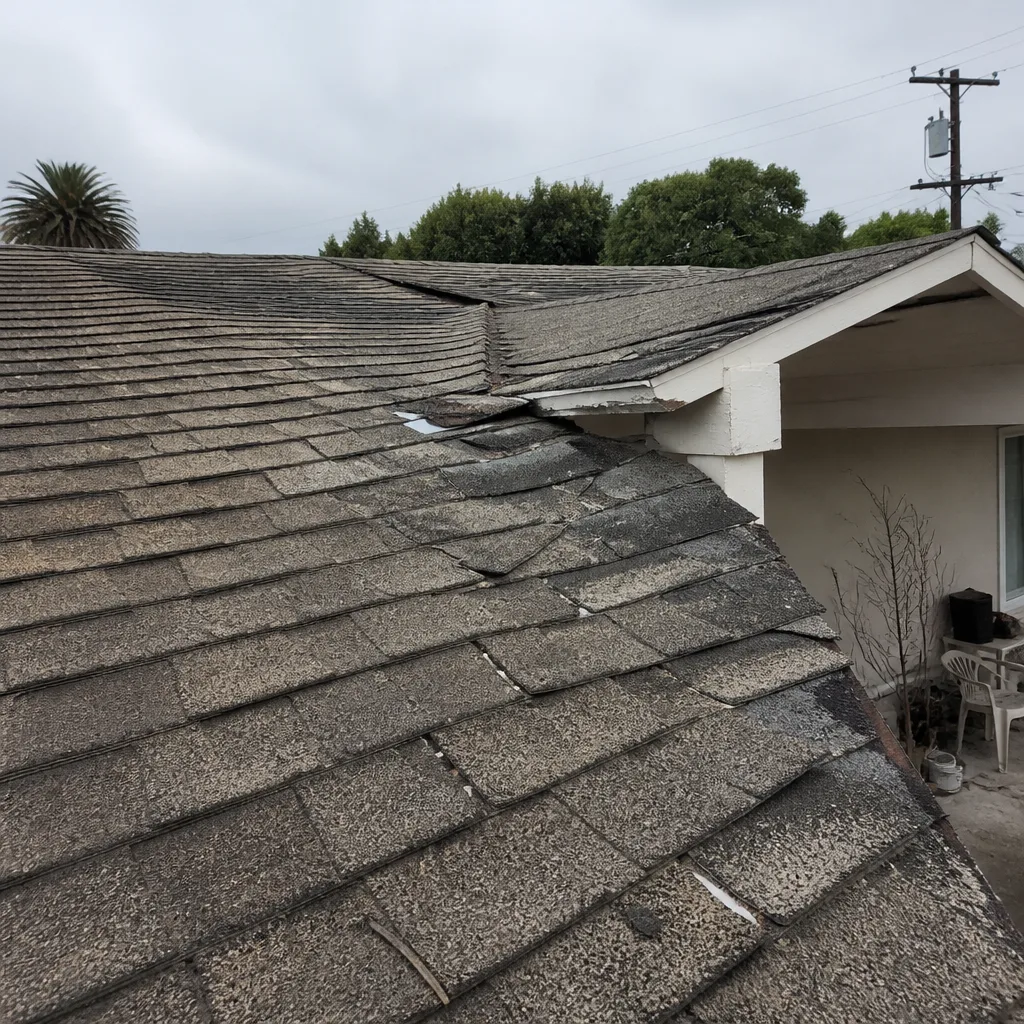 Before
 After
After Before
 After
After